
The “Income” section collects information about all receipts of the training center. The section opens automatically when you go to “Finance” from the side menu.
Main blocks:
- Search and filtering;
- Add income;
- Additional sale;
- Operations table.
1. Search and filtering
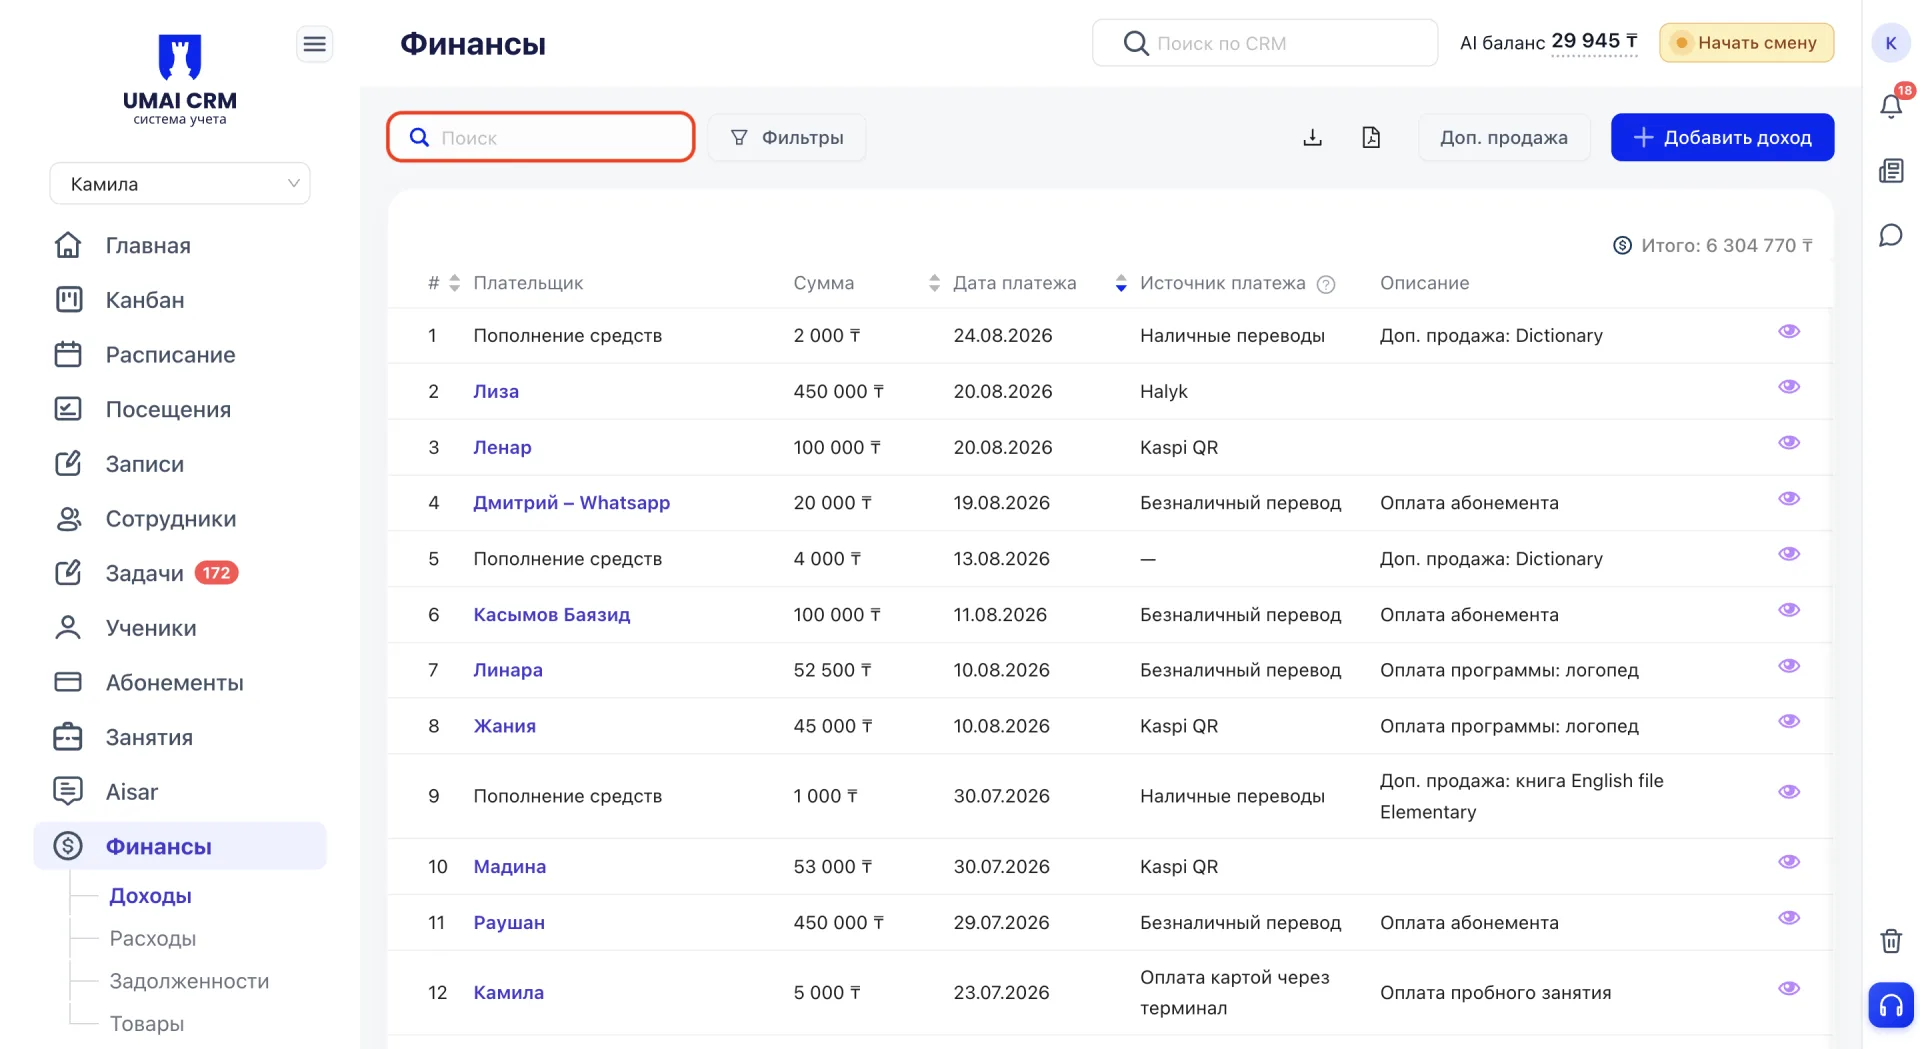
Above the table there is a “Search” field that searches operations by payer name.
The “Filters” button opens a window with advanced search parameters:
- search by payer;
- payment date, which sets the search period by the specified dates;
- payment source — the method by which the payment was made;
- income category — the group of receipts set in the system settings;
- income item — the type of service or product for which the payment is received, set in the system settings and used for income breakdown;
- the group to which the Student belongs.
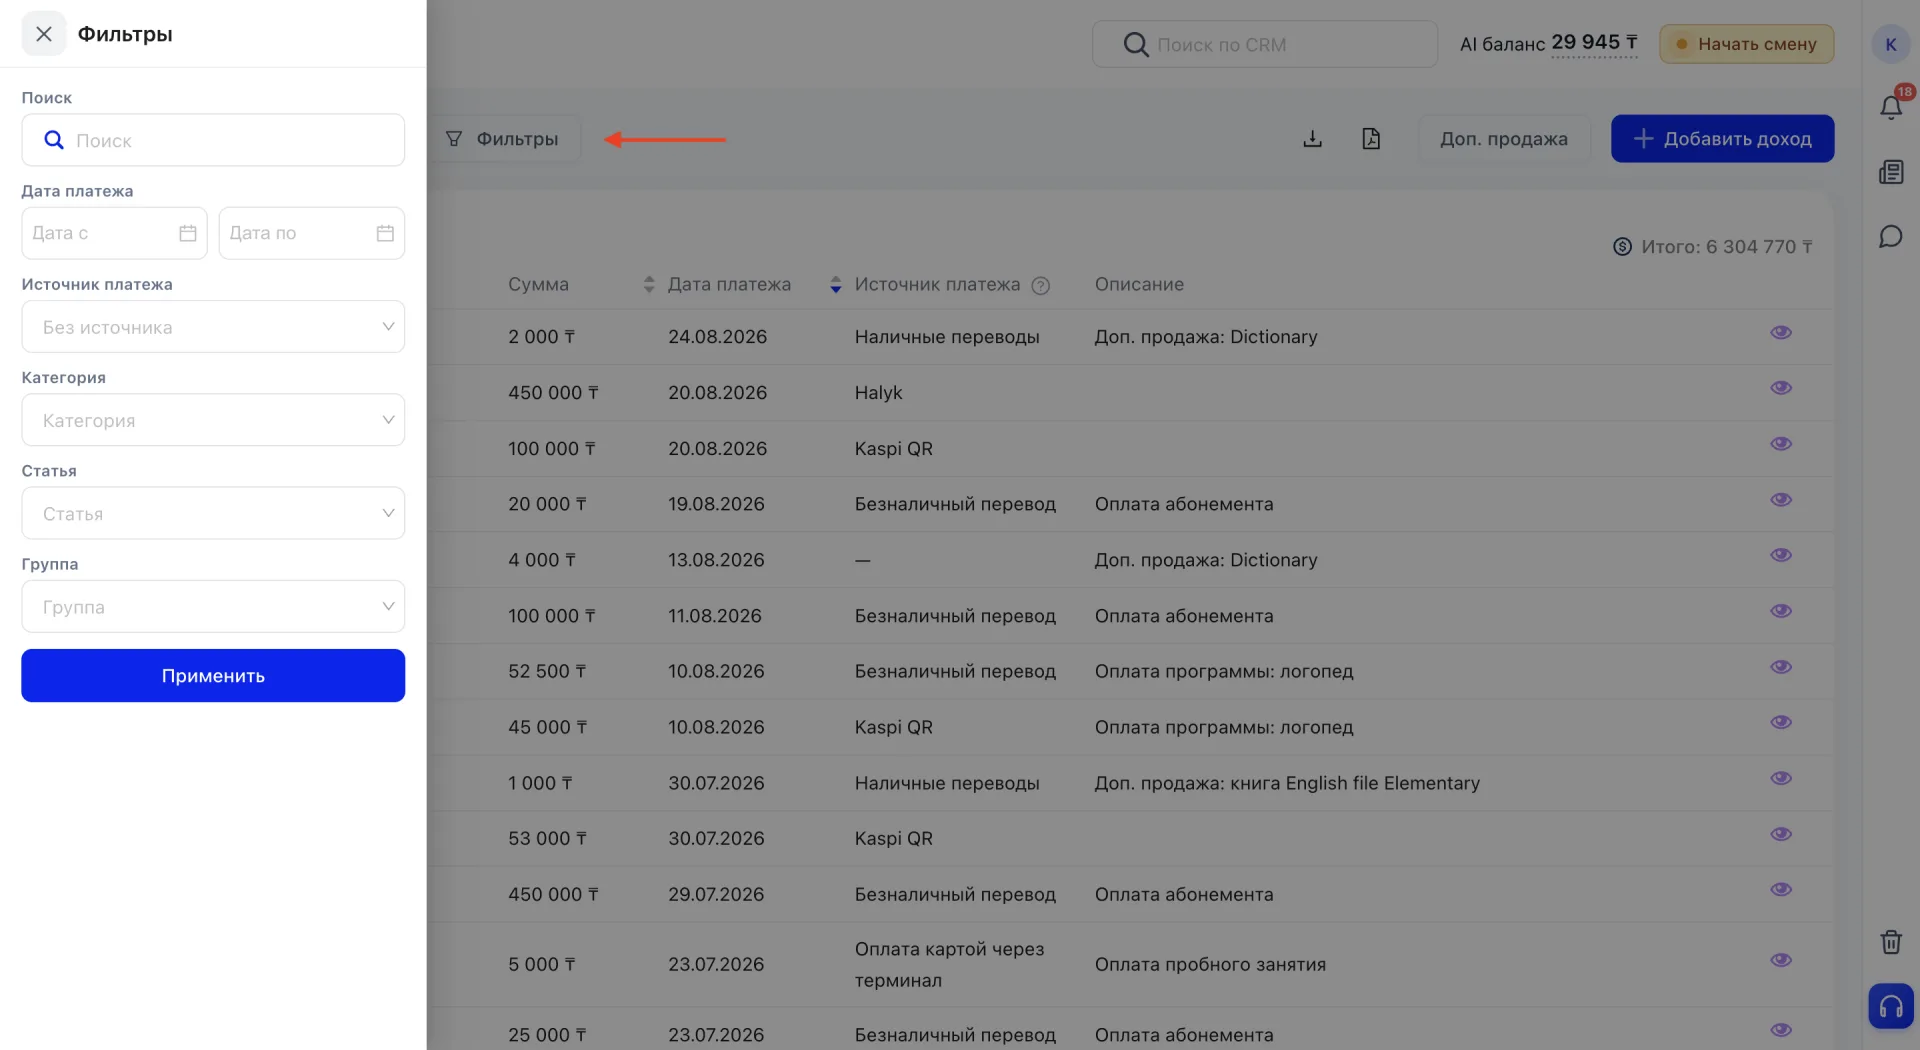
After filling in the required fields, click “Apply” to update the list of operations according to the selected conditions.
The payment source reflects the payment method: cash, bank transfer, card payment, Kaspi QR and others. The income item reflects the type of service or product for which the payment is received and is used for income breakdown. The values for the “Category” and “Item” fields in the “Filters” window are set by the training center in the system settings, and are selected from the options entered there when filtering.
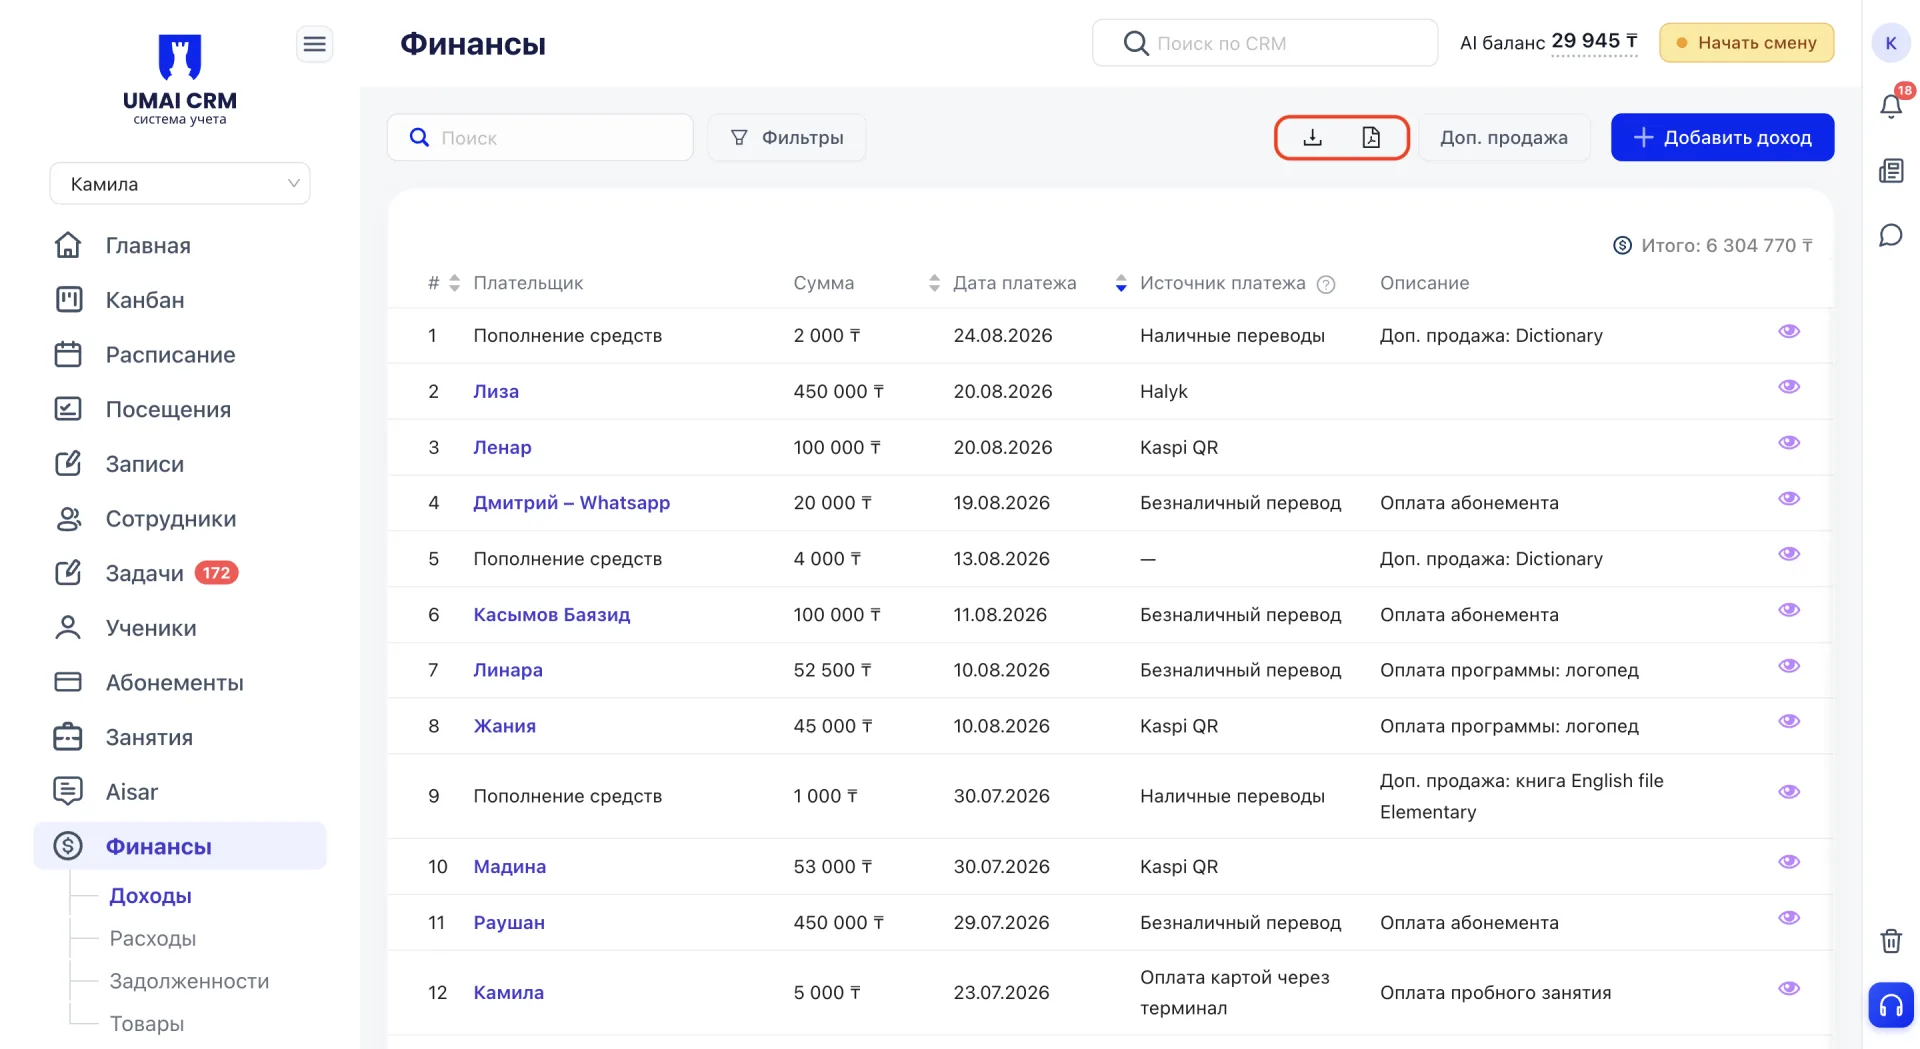
Next to the “Additional sale” button there are buttons to download the list of operations in CSV and PDF formats.
2. Additional sale
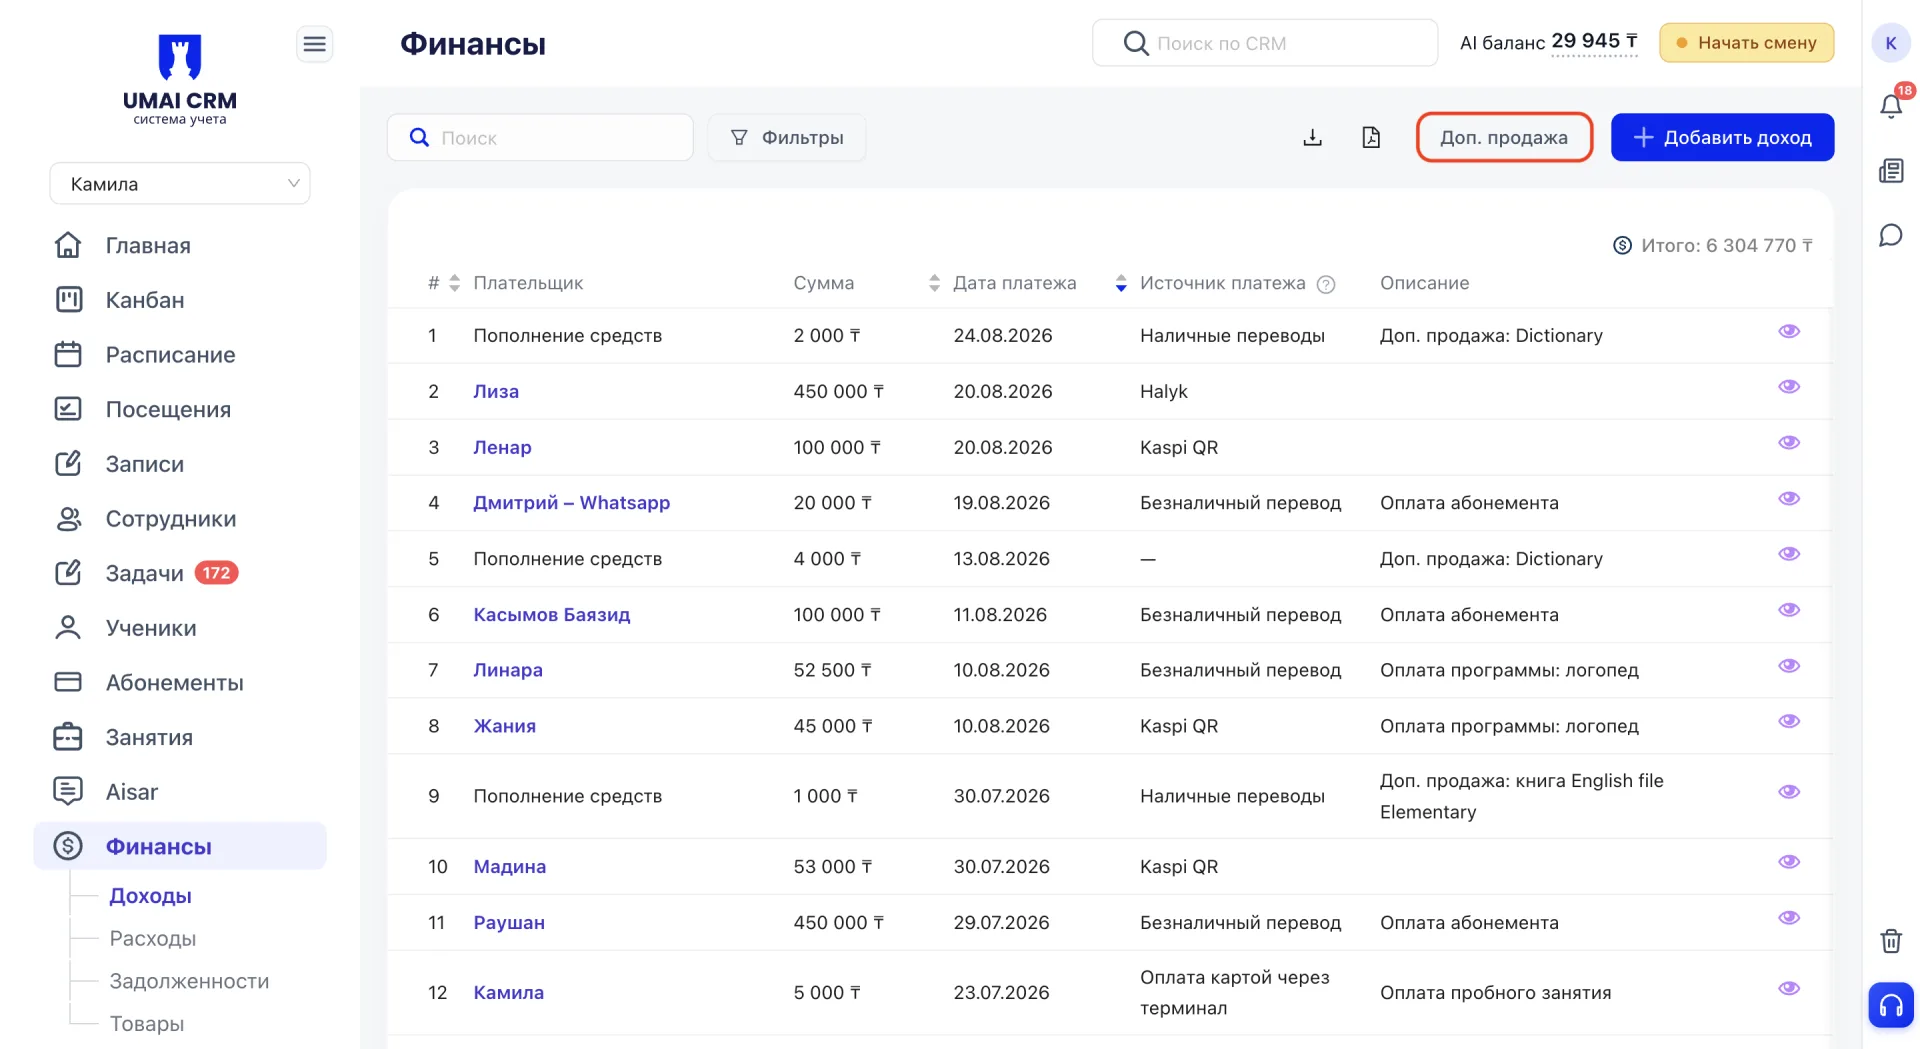
The “Additional sale” button opens a separate form for processing the sale of products, services and add-ons to lessons.
The form displays a payment status toggle “Paid” or “Unpaid”, the “Payment method” field and the operation date. Below are three sections with available items: “Lesson add-ons”, “Products” and “Services”. The remaining stock for each item is indicated next to it, and products that are out of stock are marked with the “Out of stock” label.
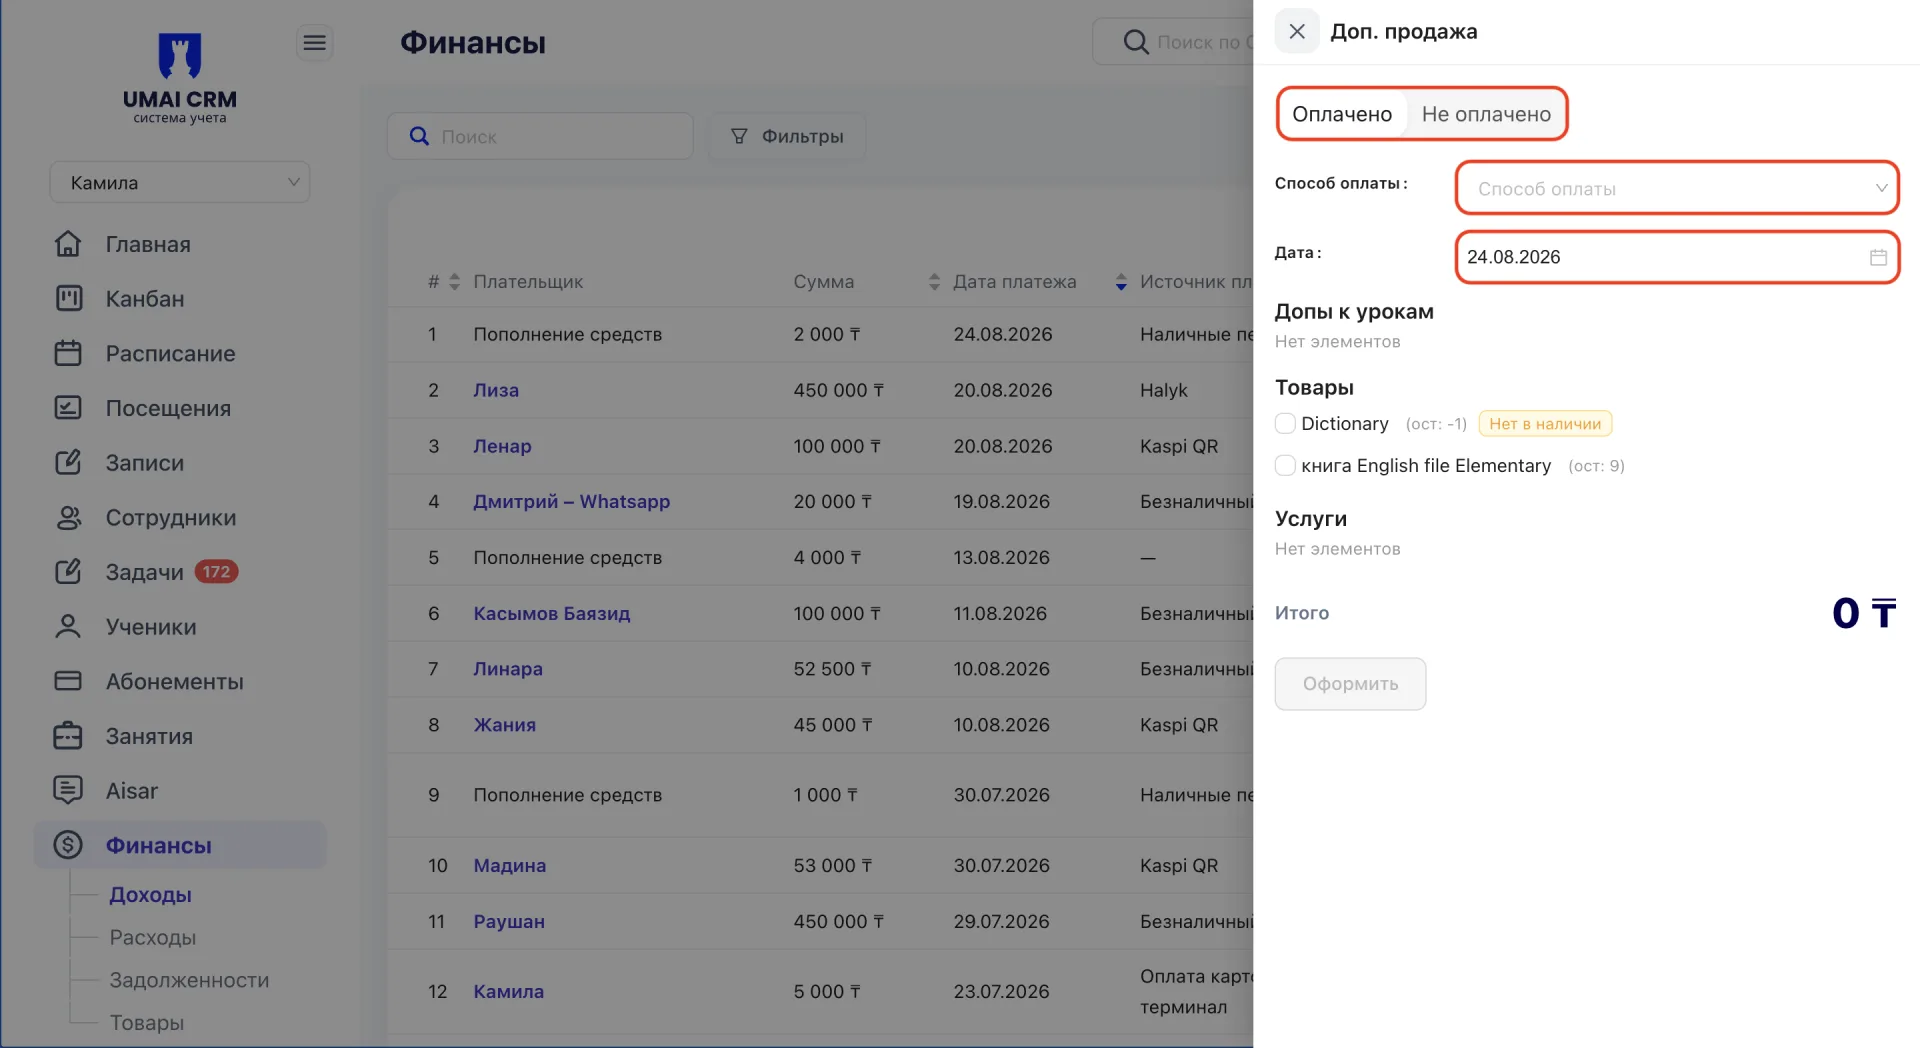
When an item is selected, fields appear to specify the quantity and price, and the total amount is calculated automatically and displayed in the “Total” field. If among the selected items there is a product that is out of stock, when you click “Process” a warning “Out of stock” appears asking whether to continue processing.
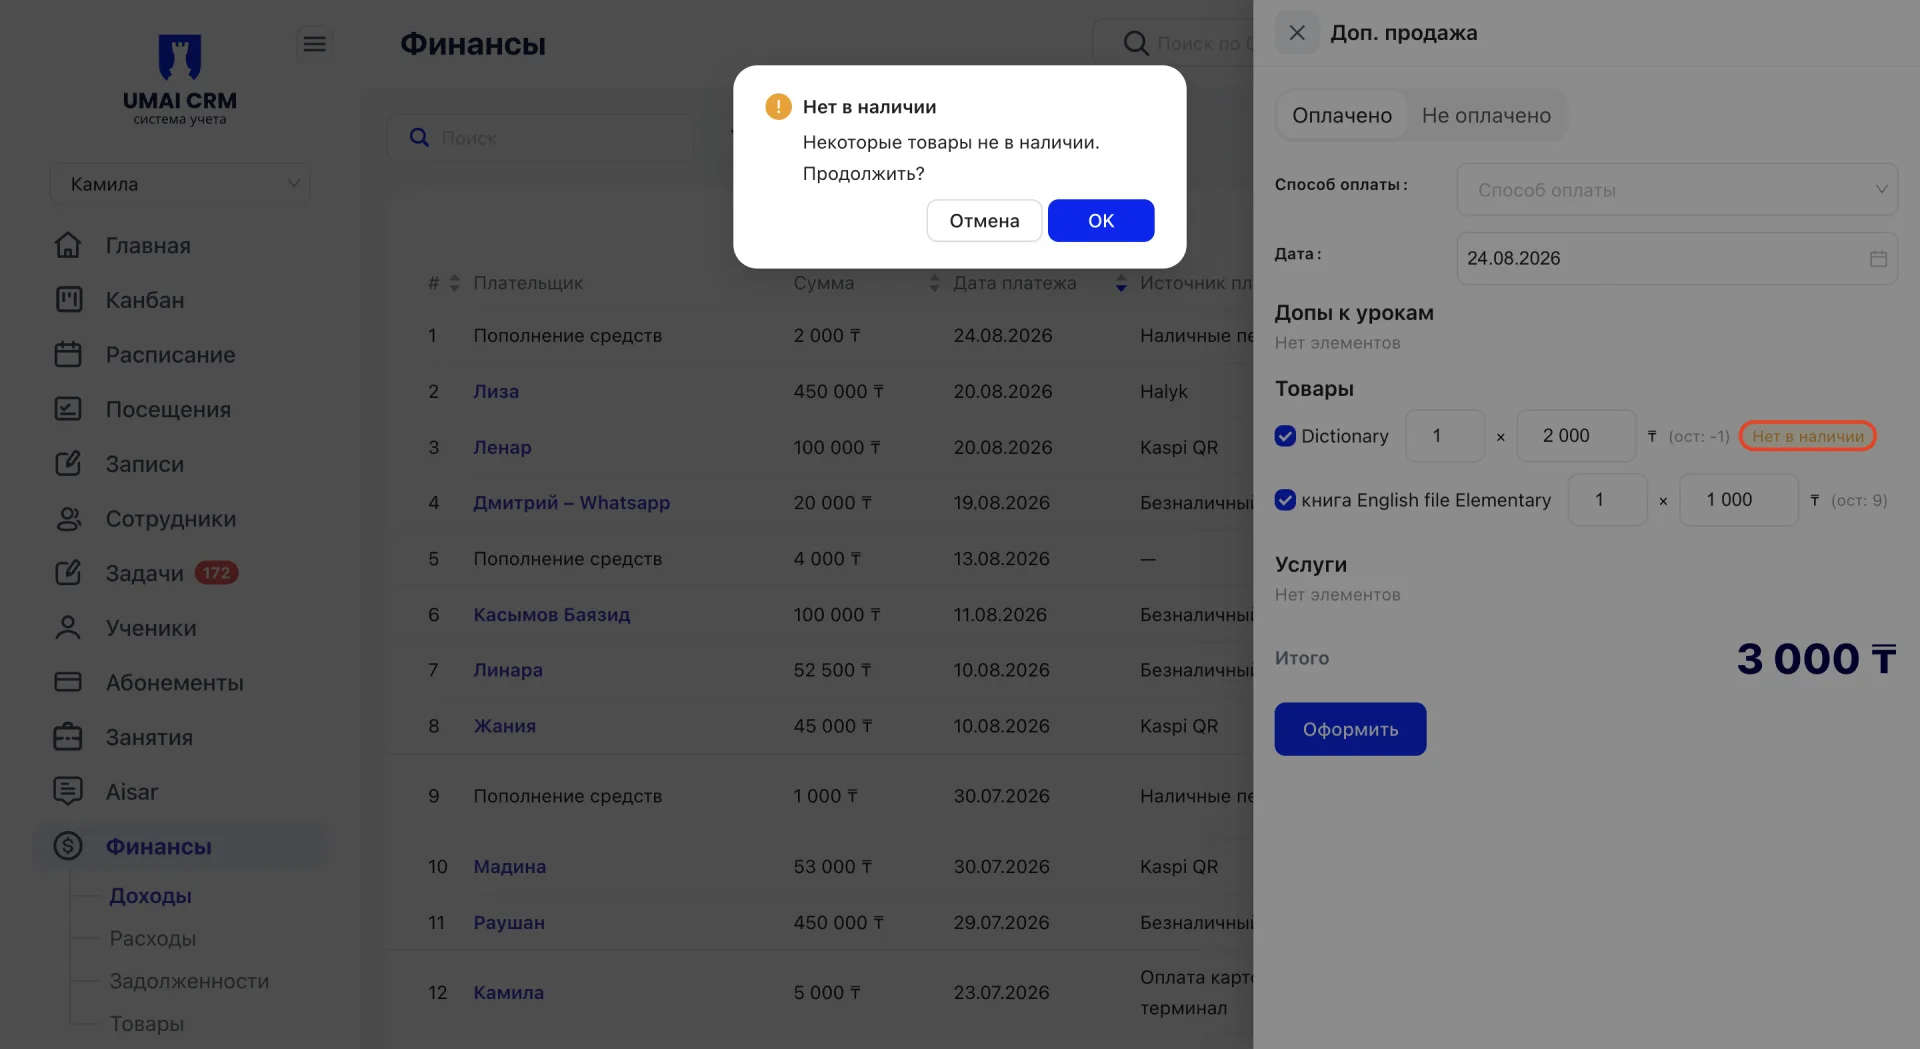
Processing the sale of a product without stock is possible only after confirmation in this window.
3. Add income
To add a new income, use the “Add income” button on the right side of the screen. A form will open with the following fields:
- Date — the date of receipt of funds;
- Amount — the payment amount;
- Payment source — the payment method;
- Income item — the type of service or product for which the payment is received;
- Payment from Student — a toggle that, when enabled, adds the “Student” field to link the payment to a specific Student;
- Description — an additional comment to the operation.
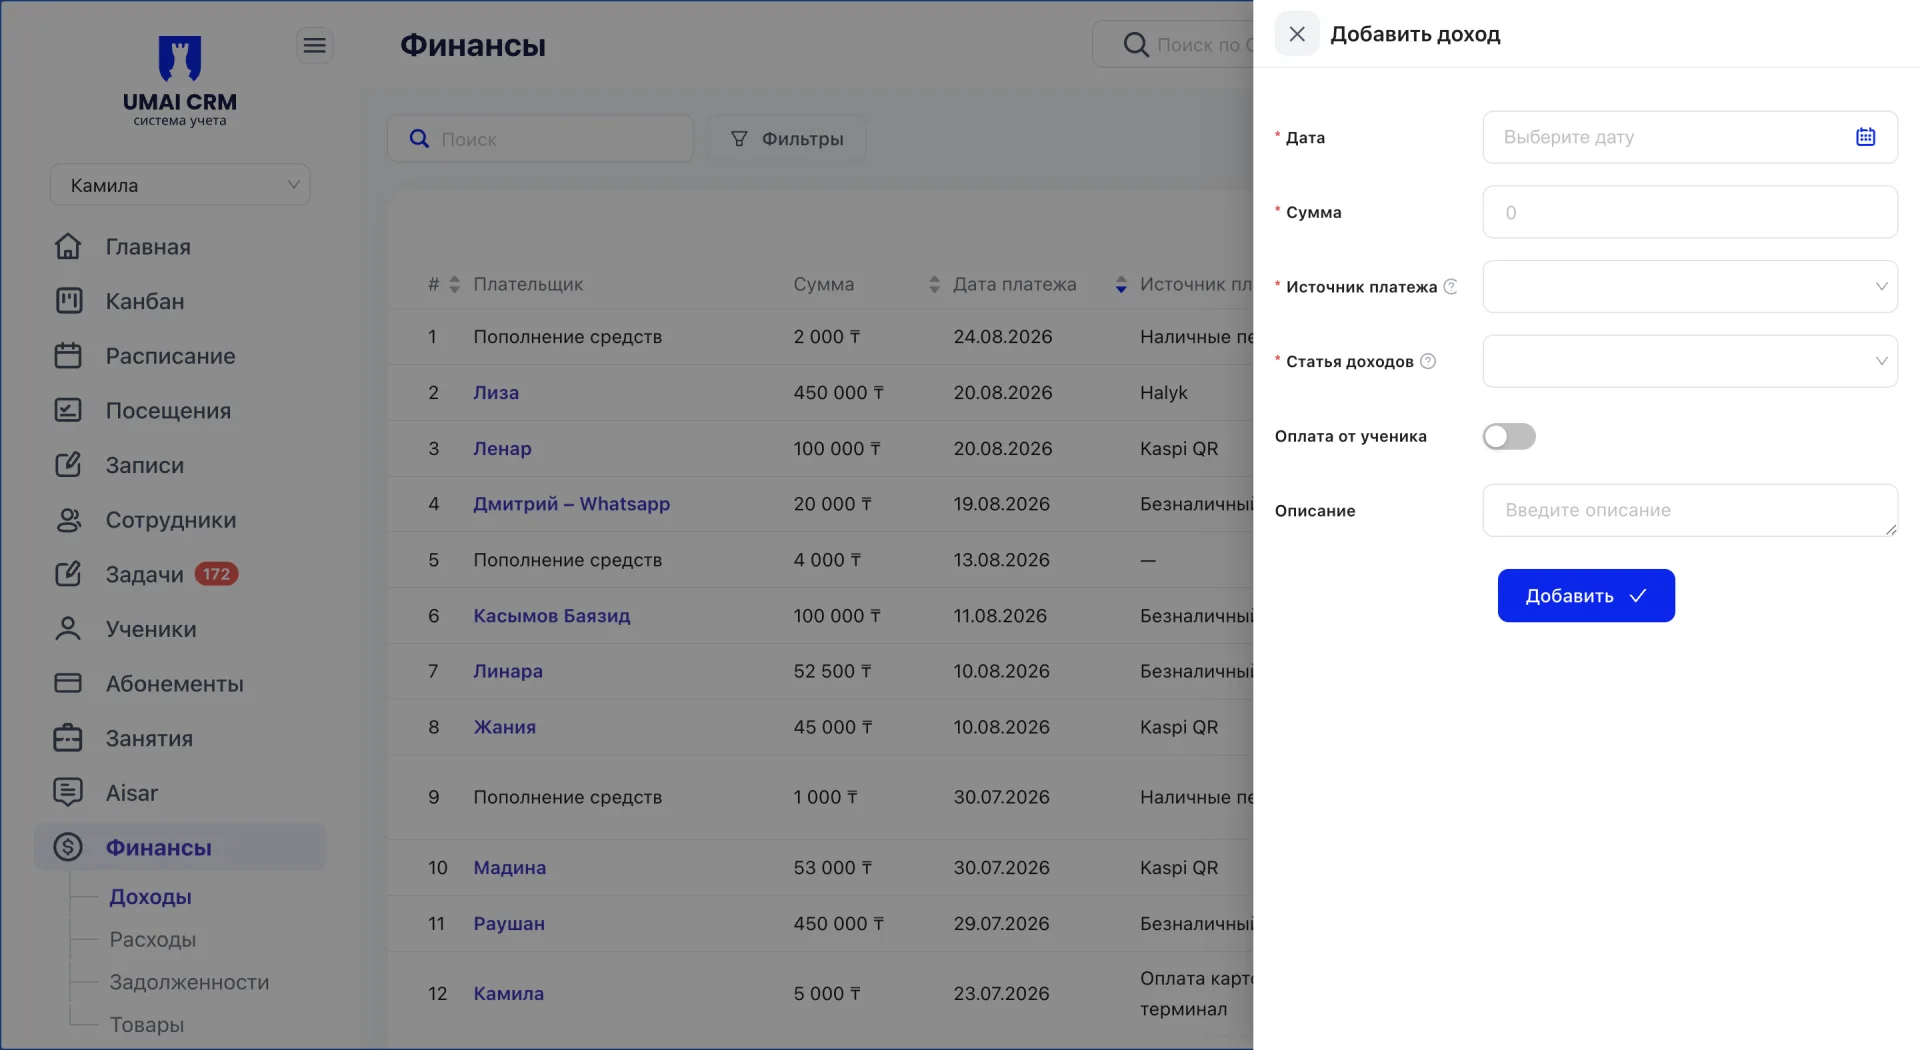
After filling in the required fields, the record is saved by the “Add” button.
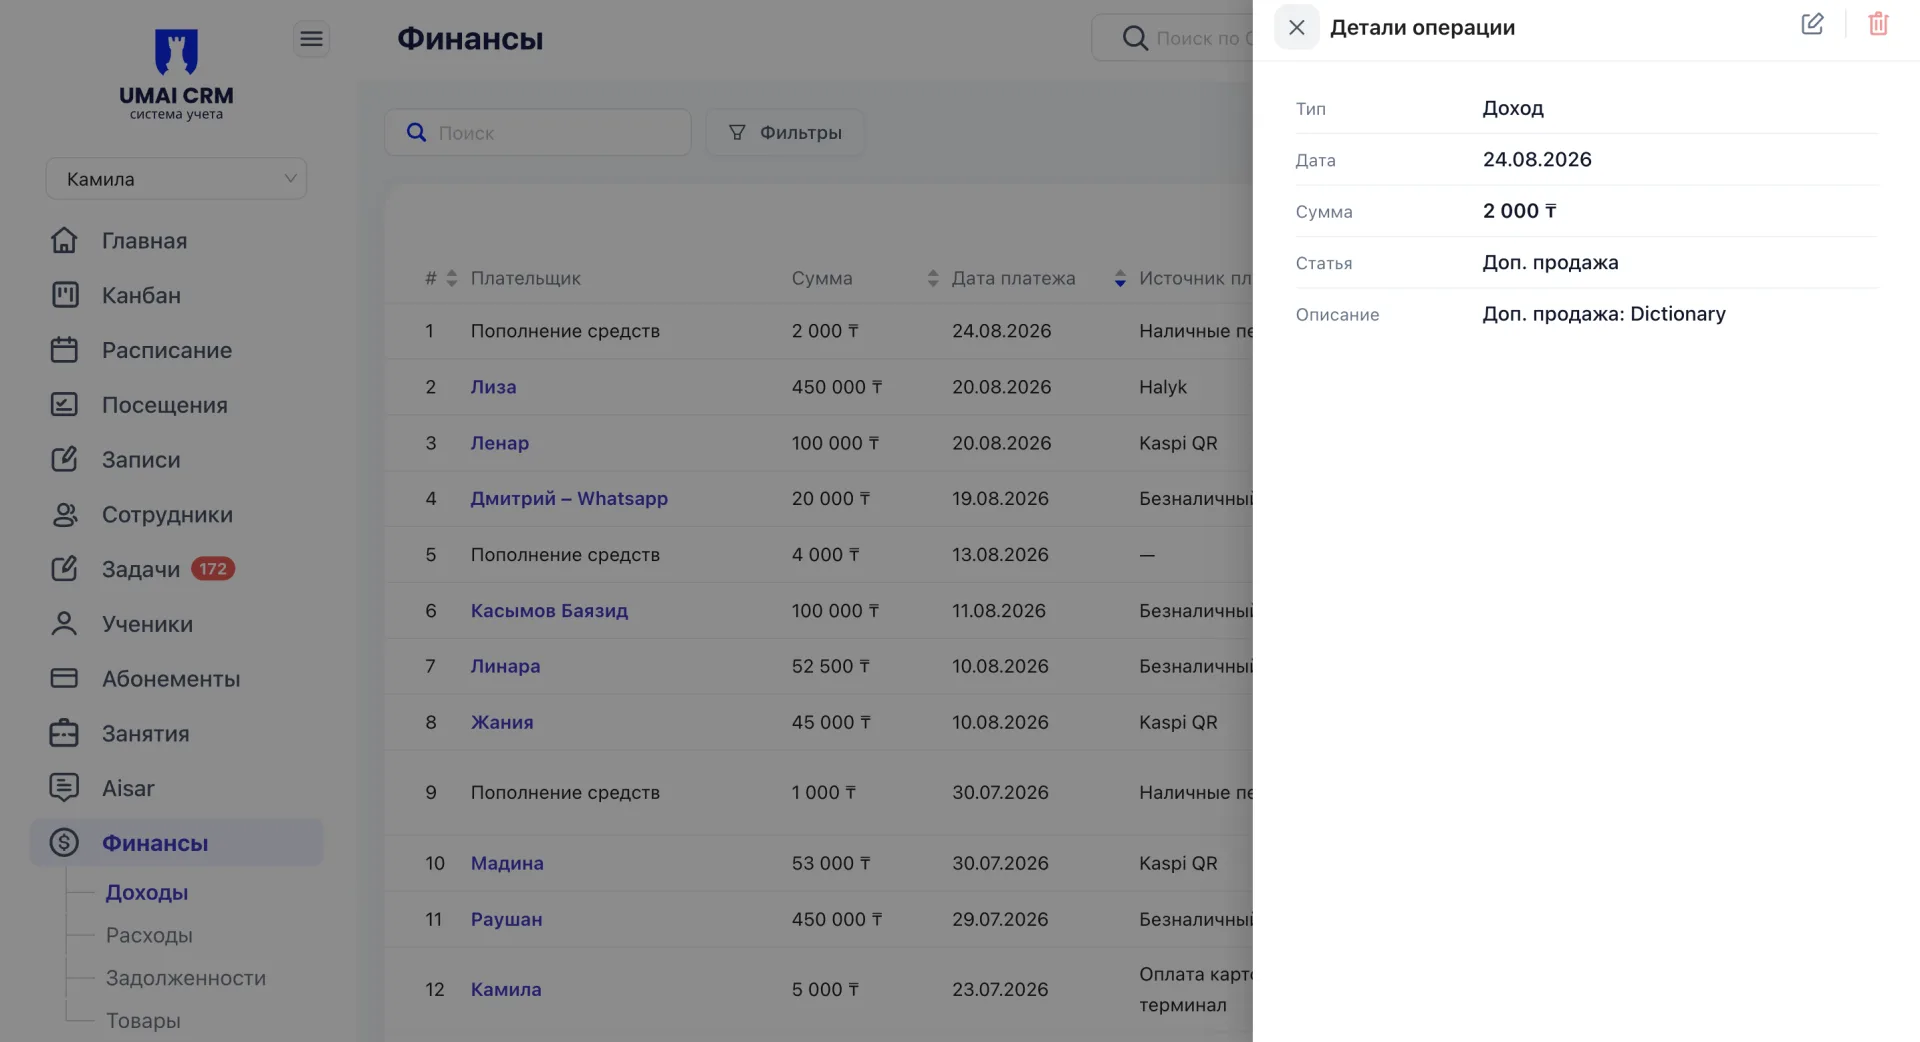
4. Operations table
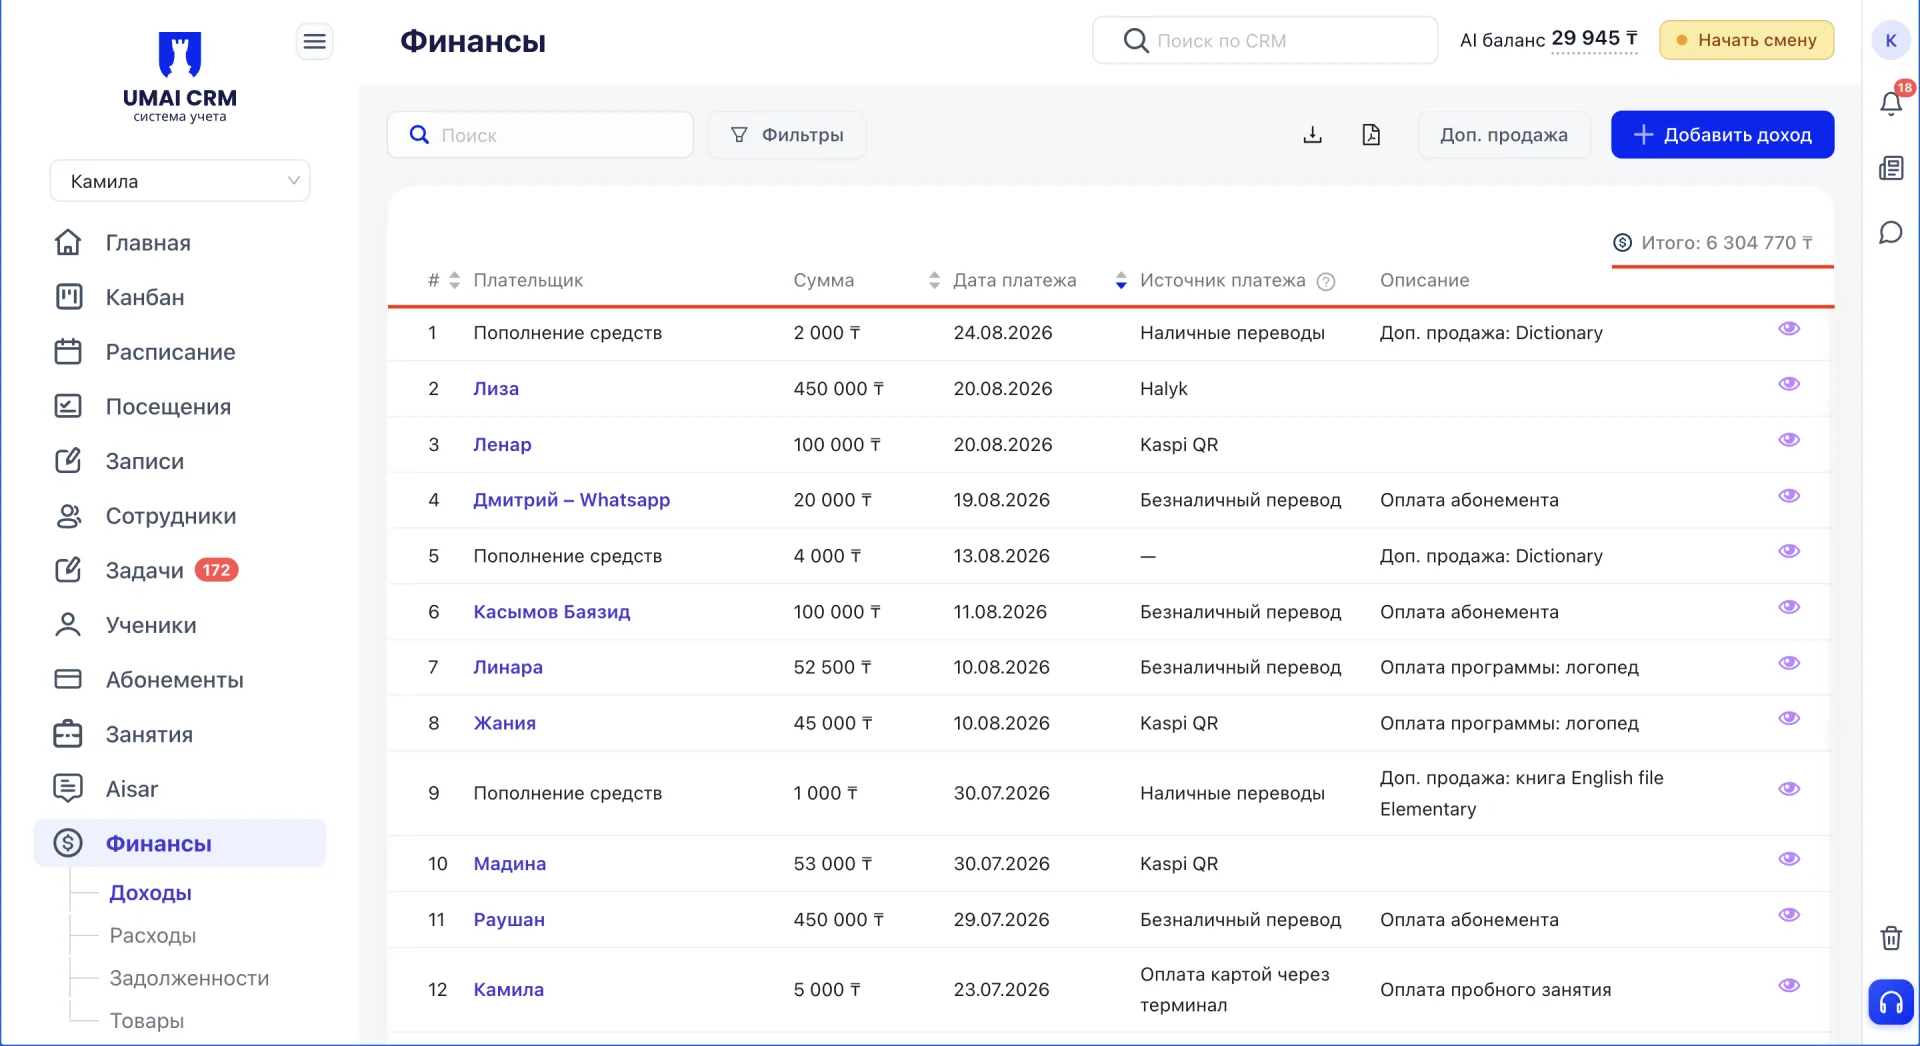
The income table contains the following columns:
- Serial number;
- Payer — the payer's name, if available; clicking the name opens the Student card;
- Amount — the amount received in tenge;
- Payment date — the date the payment was made;
- Payment source — the payment method;
- Description — additional comments to the operation.
- Date, amount, payment source and income item are required when adding income.
- Payment source and income item are used when generating the financial report in “Analytics (Аналитике)”.
- The “Search” field in the “Finance” section searches operations only by payer name and is not related to the general “Search across CRM” field at the top of the screen.
- Additional sale is available for products that are out of stock, but the system displays a warning and requires confirmation before processing such a sale.