
This window records all expenses of your center. It serves as a cost control tool and allows you to track where money goes to avoid unexpected overspending and distortions in the financial picture.
Filters help you quickly find the desired operation — search by recipient, description, and select a period by date. You can also choose an expense category to filter entries by categories, for example “Stationery” or “Rent.”
Adding an expense
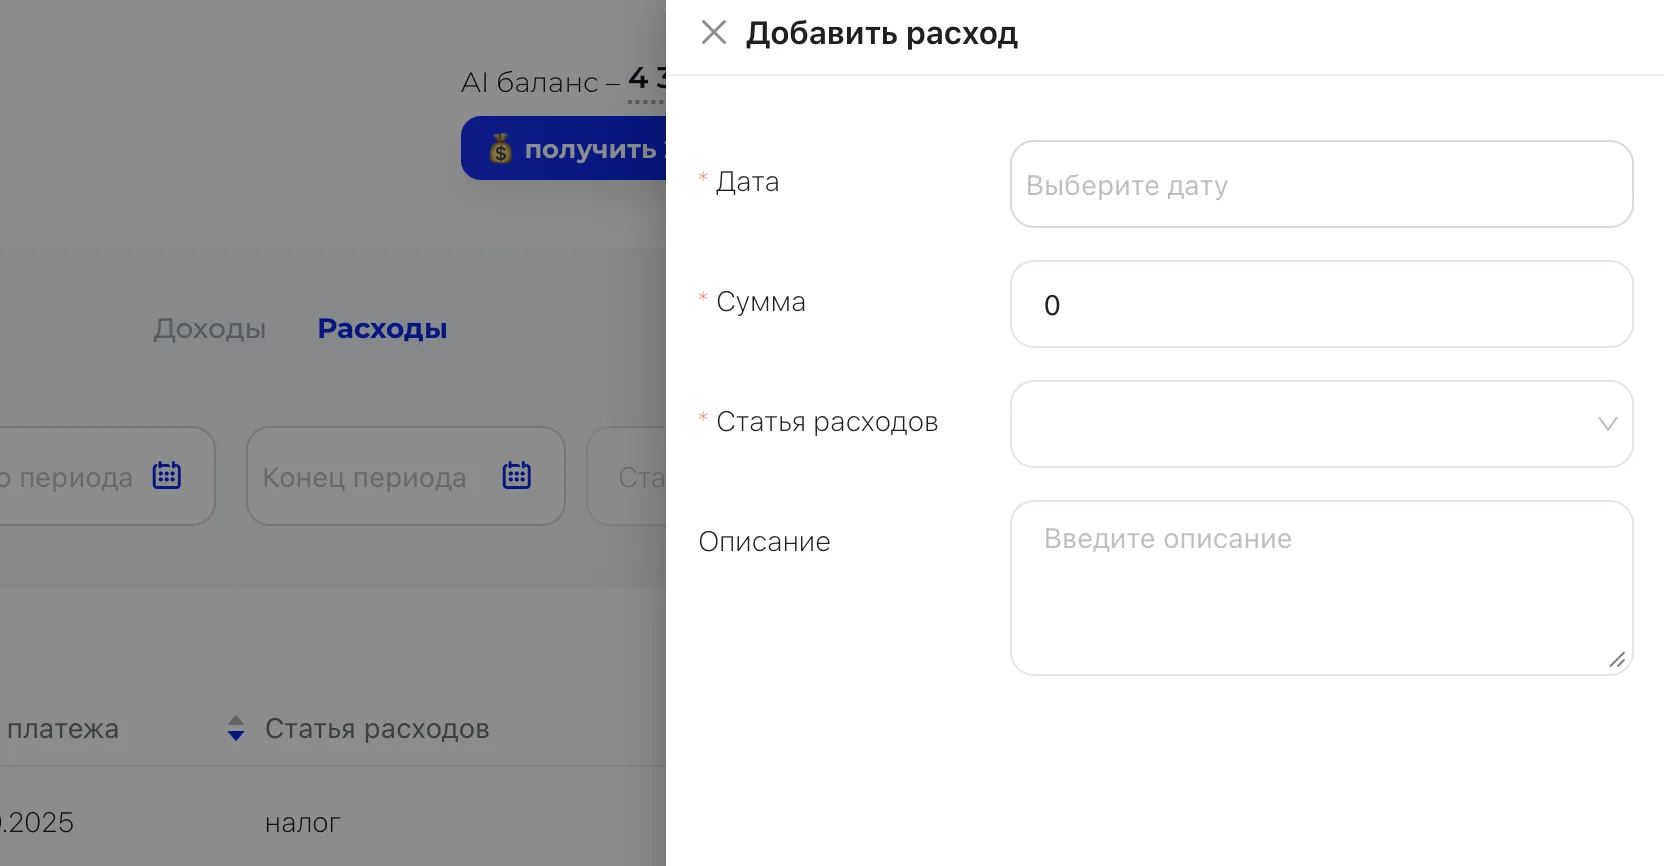
To add a new expense, use the “Add expense” button on the right side of the screen. A form will open where you will need to specify the date, amount, expense category, and description (if necessary).
The main table contains the following columns:
- # — the sequential number of the operation in the list.
- Recipient — who or what the money was spent on (if specified).
- Amount — the size of the expense in tenge.
- Payment date — when the operation was made.
- Expense category — the category to which the expense belongs.
- Description — additional information about the expense.
The top of the table displays the total Income for the selected period. Details of an operation are opened via the “eye” icon. If you have the appropriate rights, the record can be edited or deleted.
To ensure data is always accurate and reflects the real picture, it is important to maintain a consistent procedure for entering operations: who and when records payments, which categories to use, and to verify entries against the cash register or bank statements.
If you have multiple branches or cash registers, make sure that each operation is recorded in the correct center — this will prevent errors and data mixing. Following these rules simplifies control, reduces the risk of mistakes, and allows you to see how much money actually comes into and goes out of the center.