One-time mailing provides a quick way to contact clients and Leads, allowing you to send information to a specific audience.
1. Access to the section
The section is located in the notifications sidebar menu.
When opened, the mailing creation page is displayed.
On the left is a list of other mailing types:
- Birthday greeting
- Payment reminder
- No Membership
- Mailing history
The "One-time mailing (Разовая рассылка)" section is used for manually sending messages to a selected audience.
2. One-time mailing
One-time mailing is used to send messages to a selected audience of clients or Leads. Through this section you can quickly notify users about center news, promotions, schedule changes, or other events.
The message is created manually: first the text is composed, then the audience is selected and the sending time is configured. After starting, the system sends the message to all recipients of the selected segment.
This format is convenient when you need to promptly convey information to a specific group of clients.
The mailing creation page consists of several blocks. They are filled in sequentially from top to bottom:
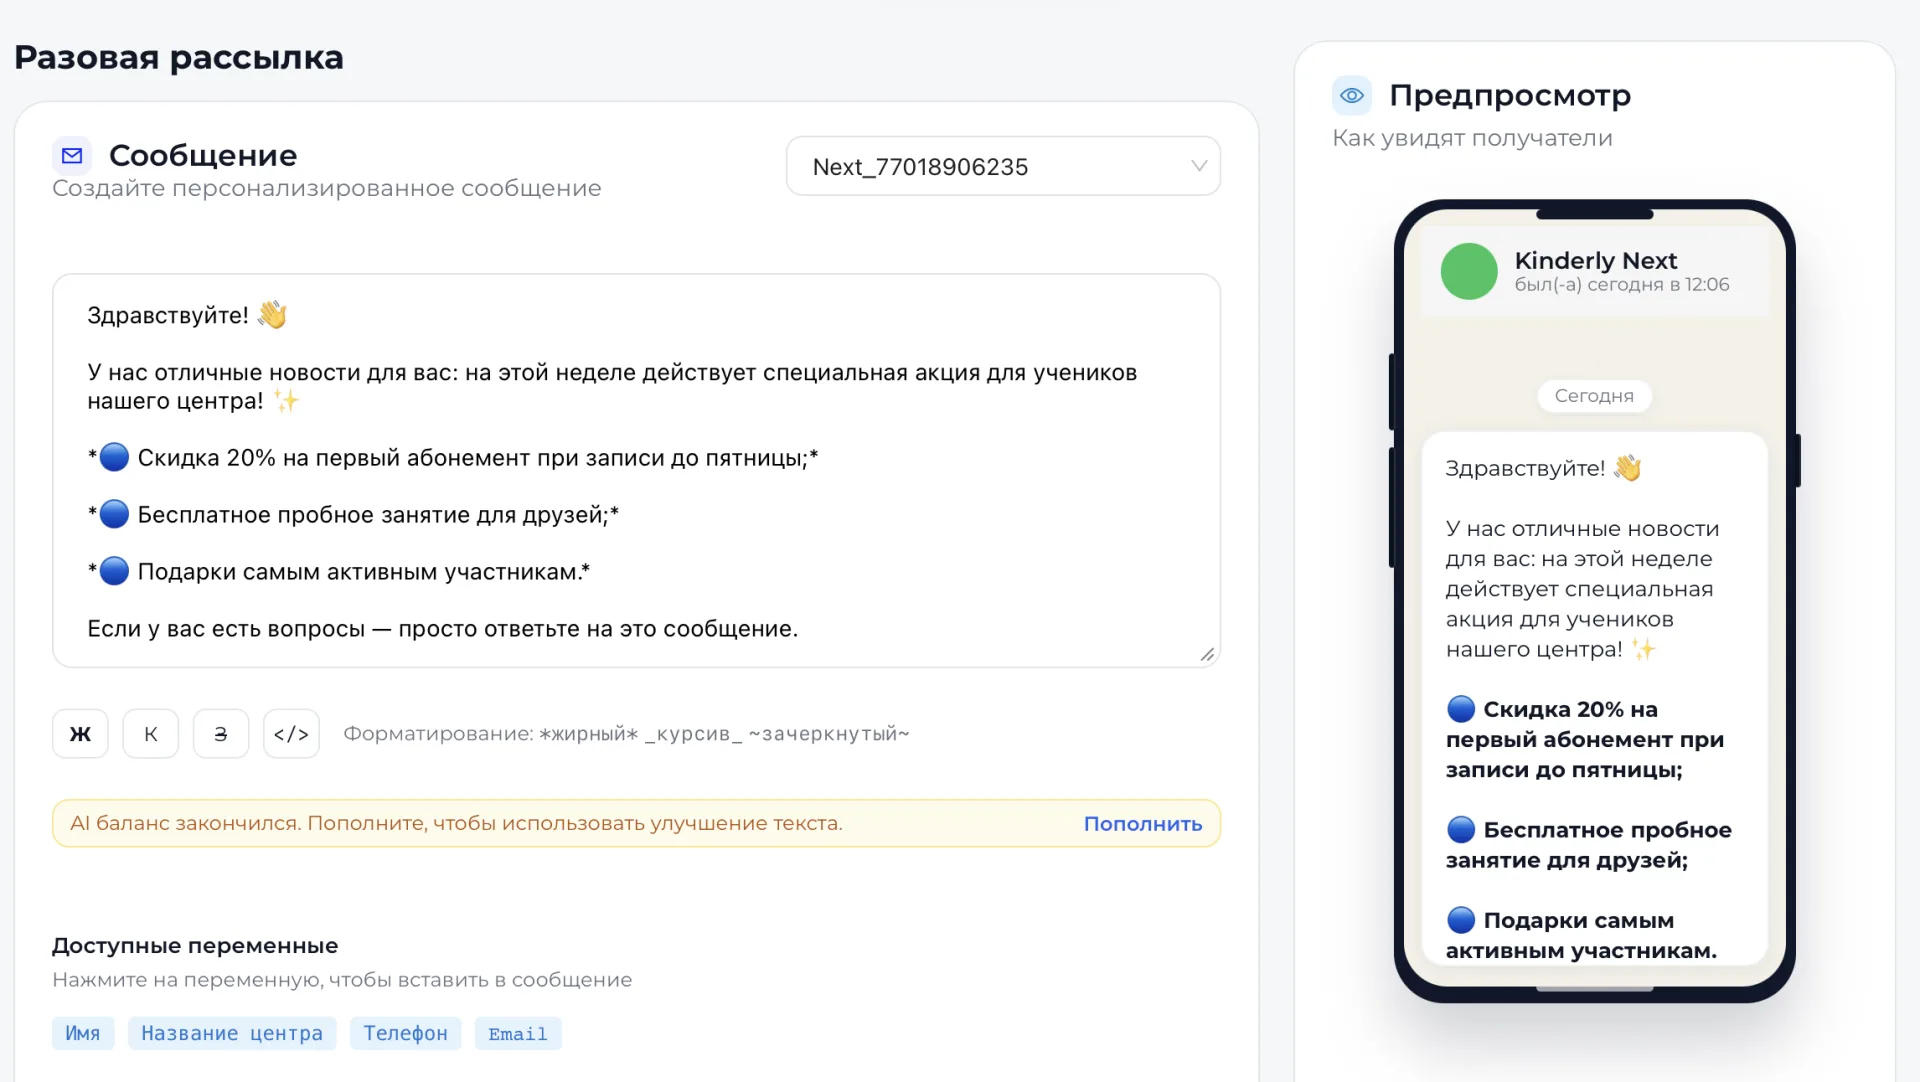
- Message — creation and formatting of the mailing text.
- Recipients — selection of the audience to receive the message.
- Sending settings — choice of time and sending parameters.
Below we will consider each block in more detail.
3. Message
Here the text of the message that clients will receive is created.
In the editor you can:
- write the mailing text;
- use formatting — bold, italic, or strikethrough text;
- add variables;
- attach an image;
- attach a file.
Available variables
A list of available variables is shown below the message field:
- Name;
- Center name;
- Phone;
- Email.
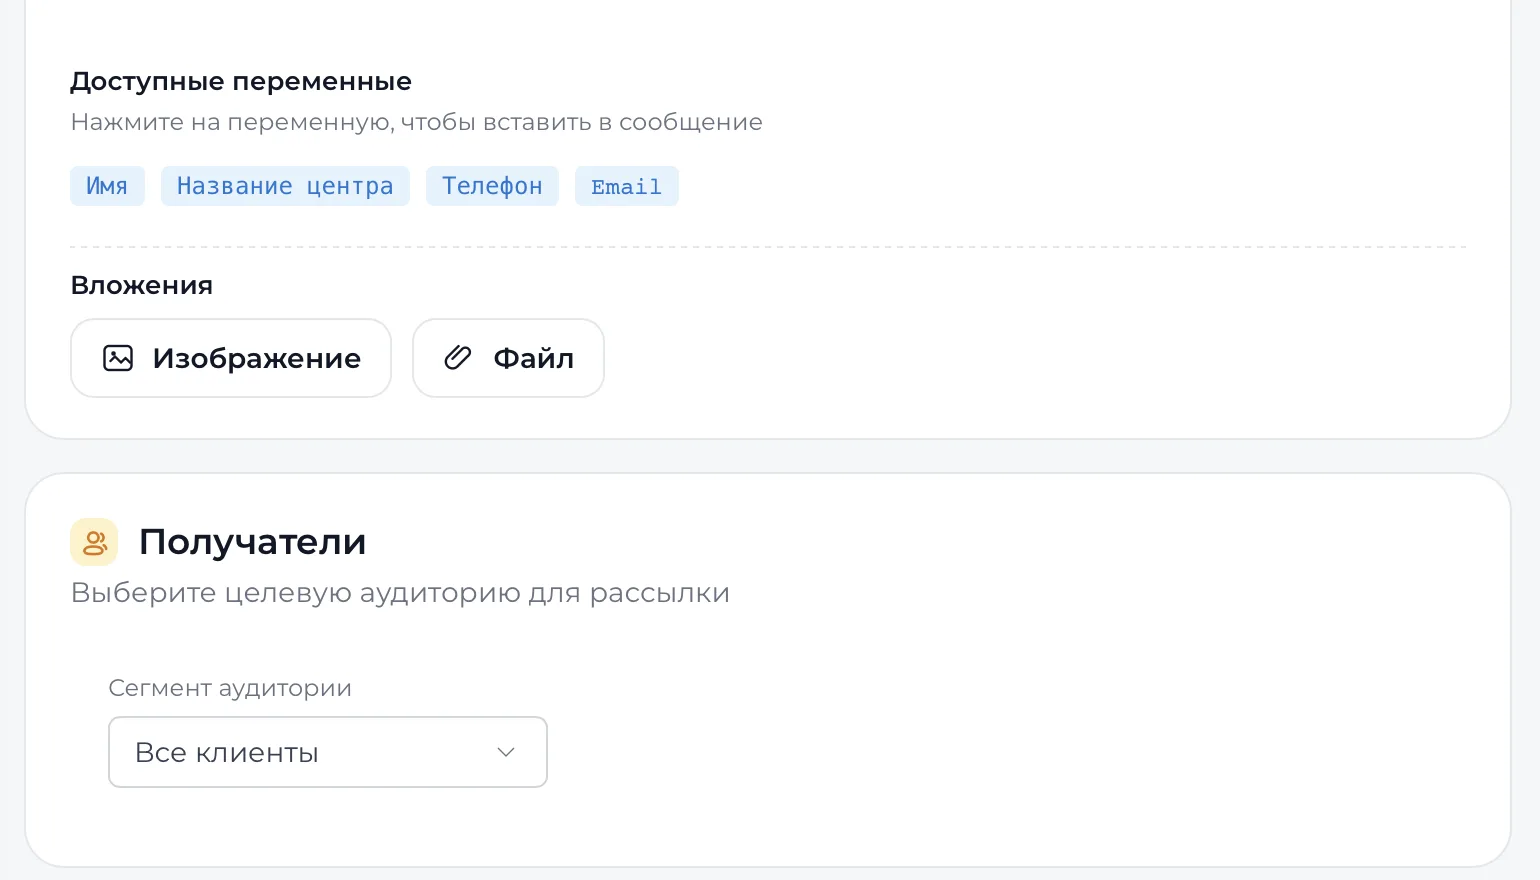
Variables are inserted into the message text and automatically substitute the recipient's data when sending. This allows you to make the mailing personalized.
For example: The client's Name will be automatically inserted into the message instead of the variable.
Attachments: You can upload an image or a file
4. Recipients
This block is located below the message editor.
In the "Audience segment" field you select the group of recipients.
Available options:
- All clients;
- All Leads;
- Only active;
- Sales funnel stage;
- Specific group;
- Participants of state order;
- By interests;
- Debtors.
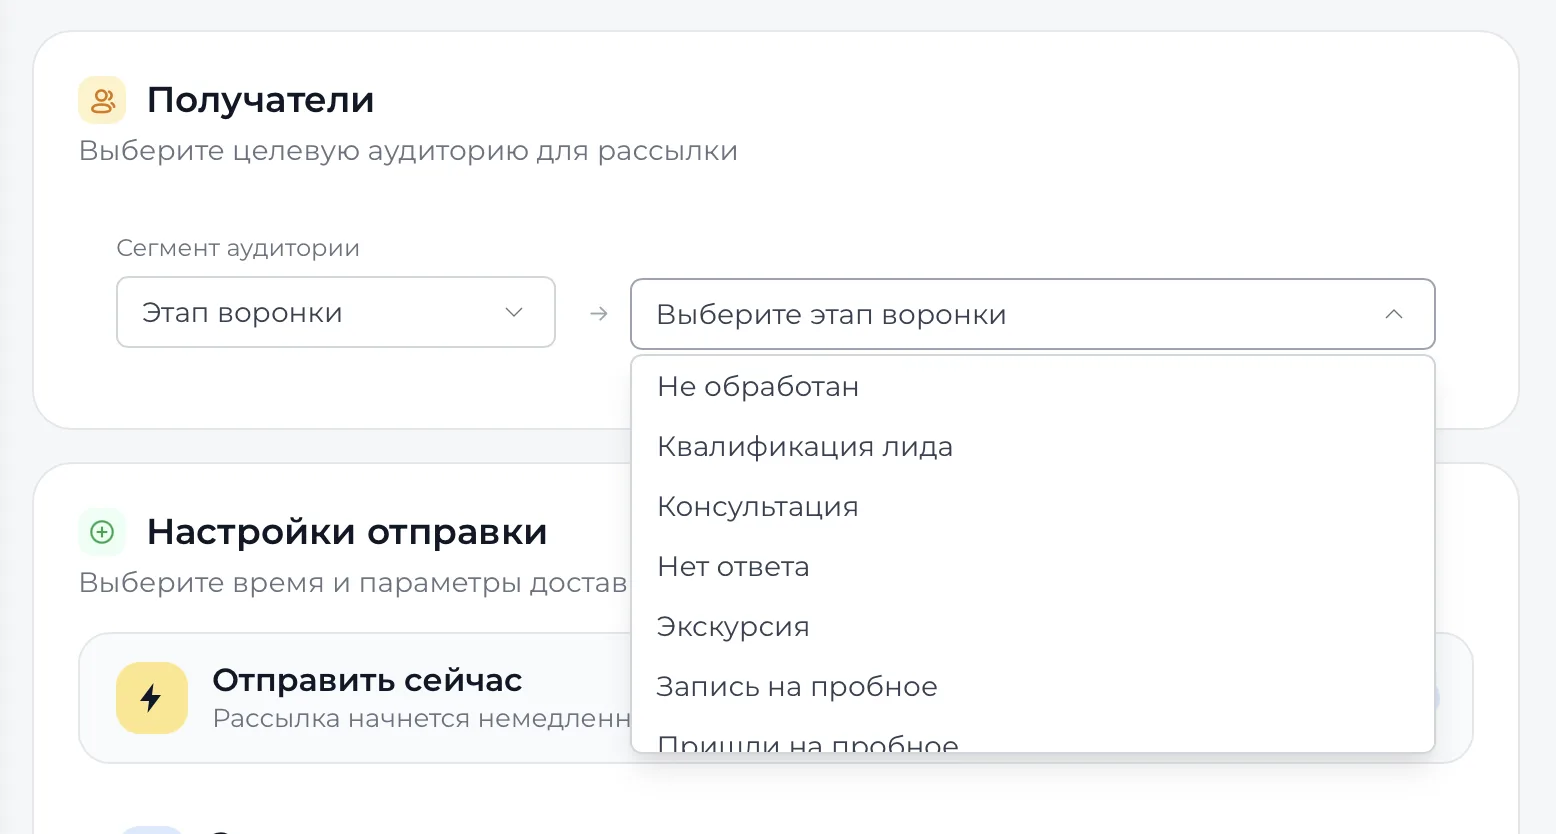
Choosing a segment determines who will receive the message.
After selecting the audience, the system generates a list of recipients based on the selected filter.
Feature of the "By interests" segment
The "By interests" segment is formed based on the interests specified in the Lead card in Kanban (Канбан). The mailing may include both Leads who have not yet become Students and Students if the Lead was previously converted and their interests were retained.
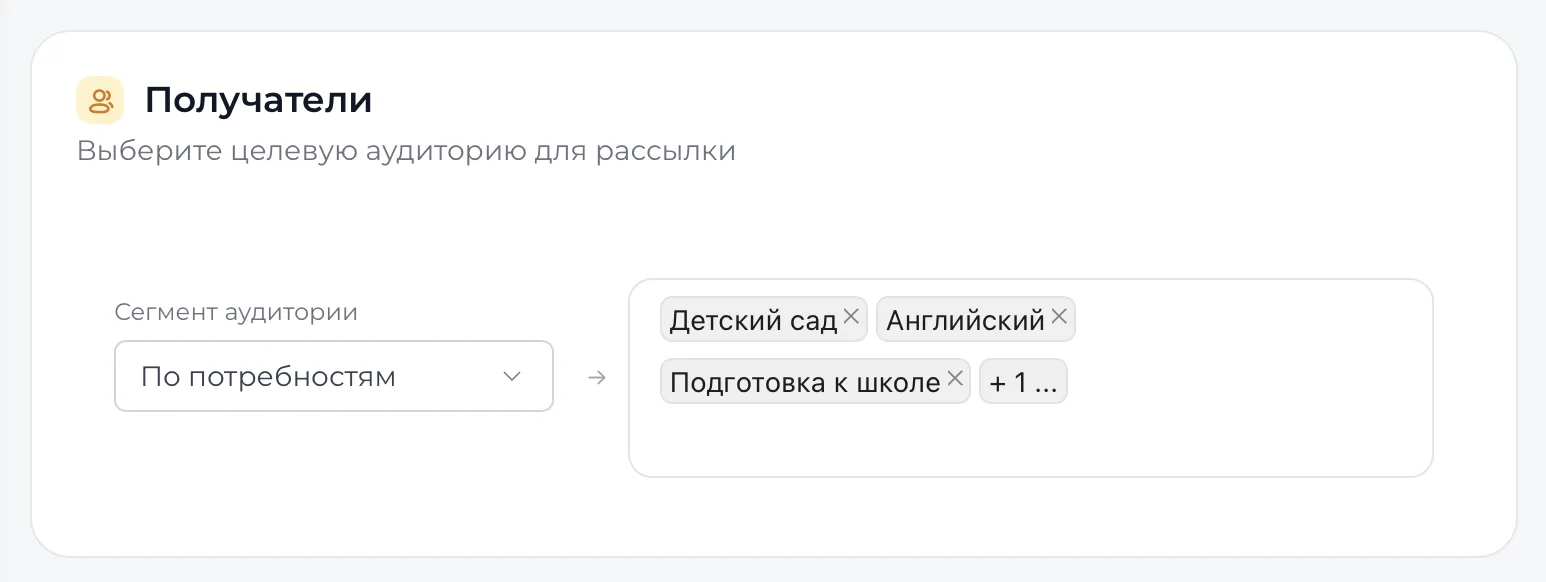
If the number of recipients turned out to be less than expected, check a few things: whether the phone or Email are filled in the contact cards, whether interests are specified in the Lead cards, and whether the segment parameters are selected correctly.
If the settings are correct but the result still raises questions, you can contact support and attach a screenshot of the selected segment.
5. Sending settings
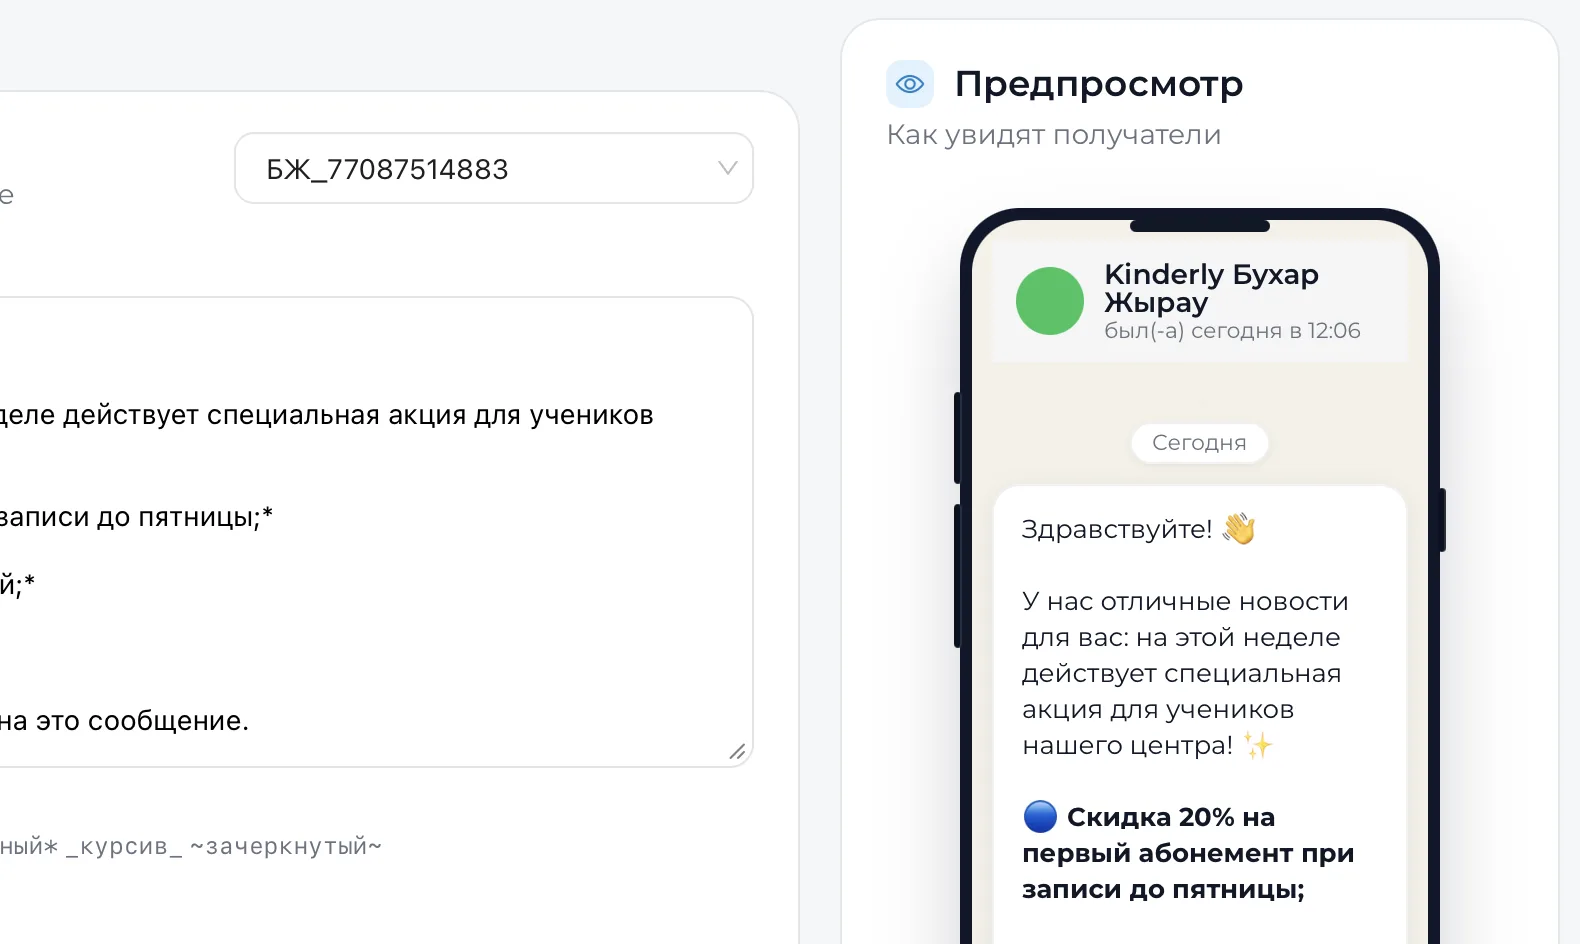
This block is located at the bottom of the page and is responsible for choosing the mailing send time. A message preview is displayed next to it — it shows how the text will look for the recipient on the phone screen. This helps check the formatting and ensure the message reads correctly.
Two options are available:
- Send now — the mailing starts immediately after clicking the "Send mailing" button.
- Schedule sending - you can specify a date and time. Messages will be sent automatically at the chosen moment.
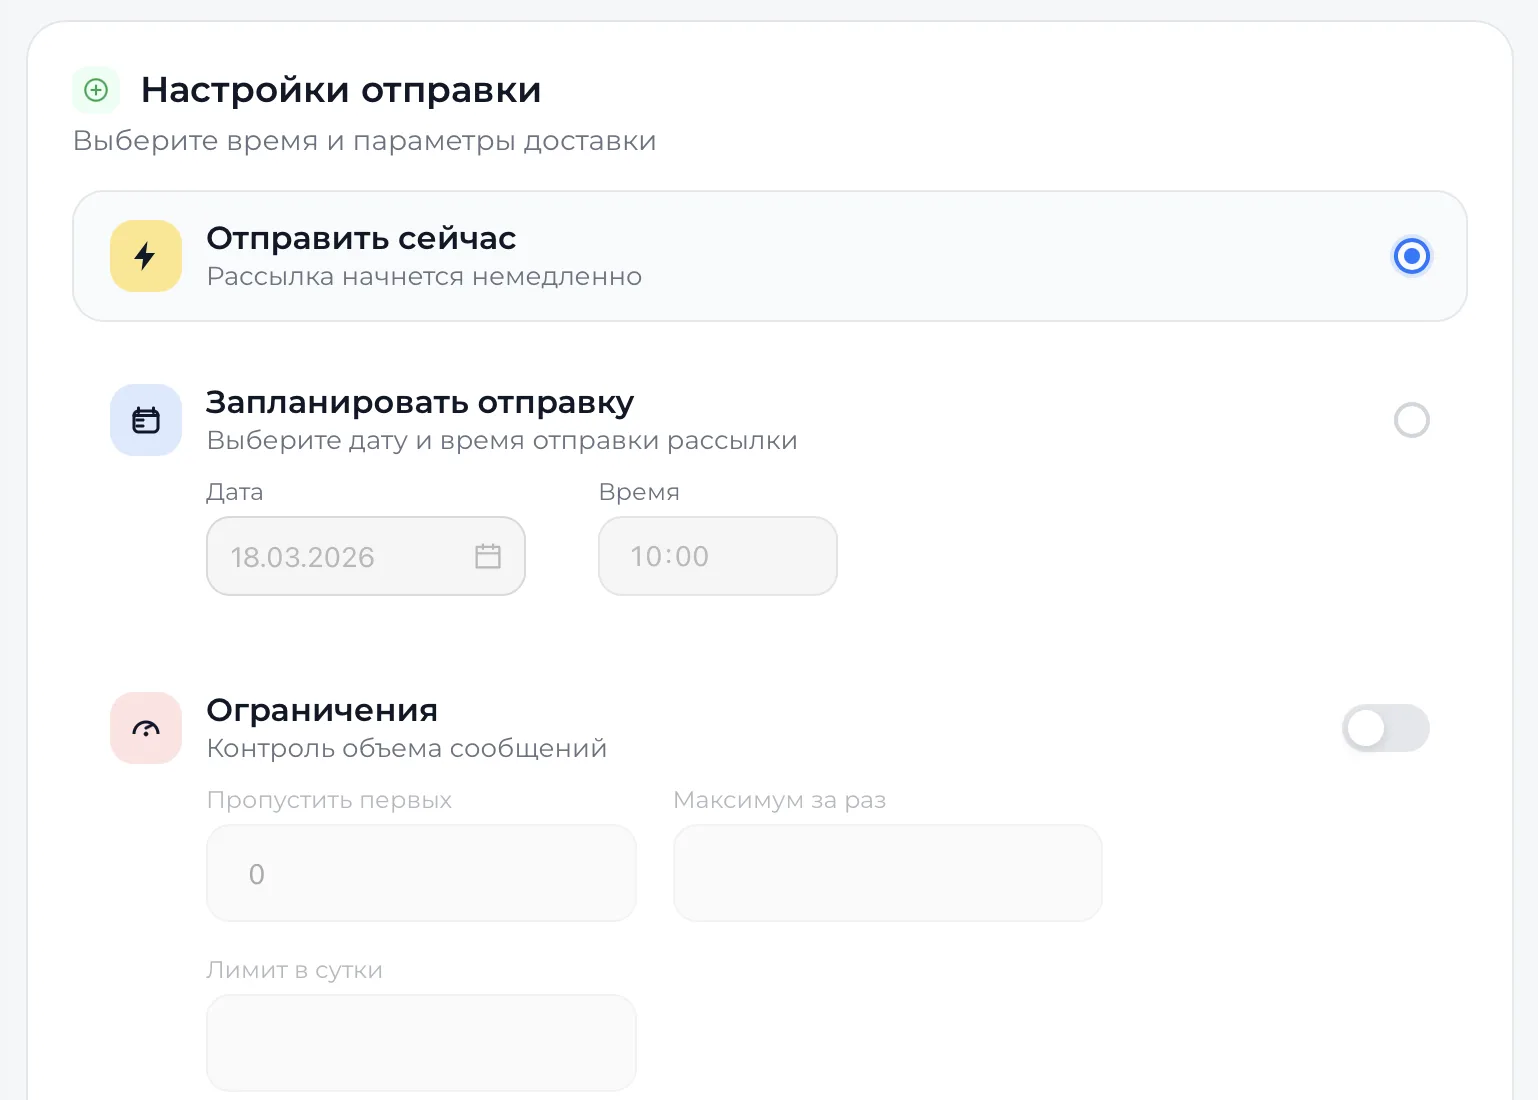
Limits
In the "Limits" block you can set parameters for sending messages.
Available settings:
- skip the first recipients;
- set the maximum messages per single send;
- set a daily limit;
- enable message volume control.
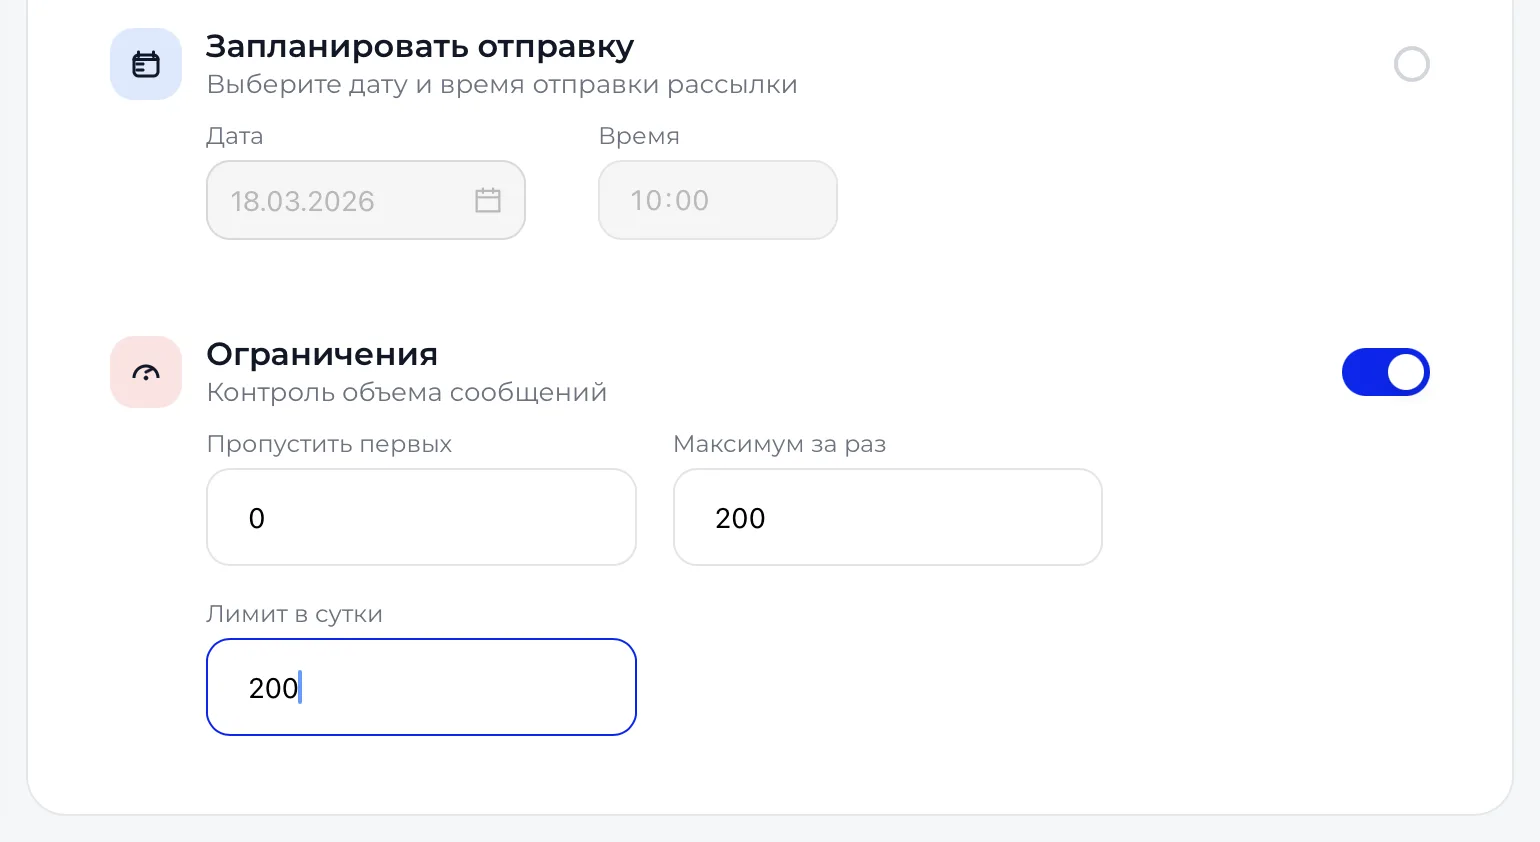
These parameters help control the load on mailings with a large client base.
After filling in all parameters, two buttons are available under the preview:
- Save draft — saves the mailing without sending. The draft can be opened later and editing continued.
- Send mailing — starts sending messages to the selected audience.
Connection with other sections
Audience segments are formed based on data from client cards, Lead cards in Kanban (Канбан), Groups of Students, and state order data. Any changes in these sections can affect the composition of the mailing audience. The section allows you to create mailings step by step, controlling content, audience, and sending time.
Important to consider
- The message is sent only to contacts with a filled phone or Email.
- The sending channel must correspond to the contact's data (WhatsApp - phone, Email - electronic mail).
- The segment choice directly affects the number of recipients.
- Before sending, check the text in the preview.
- After sending the message cannot be changed.